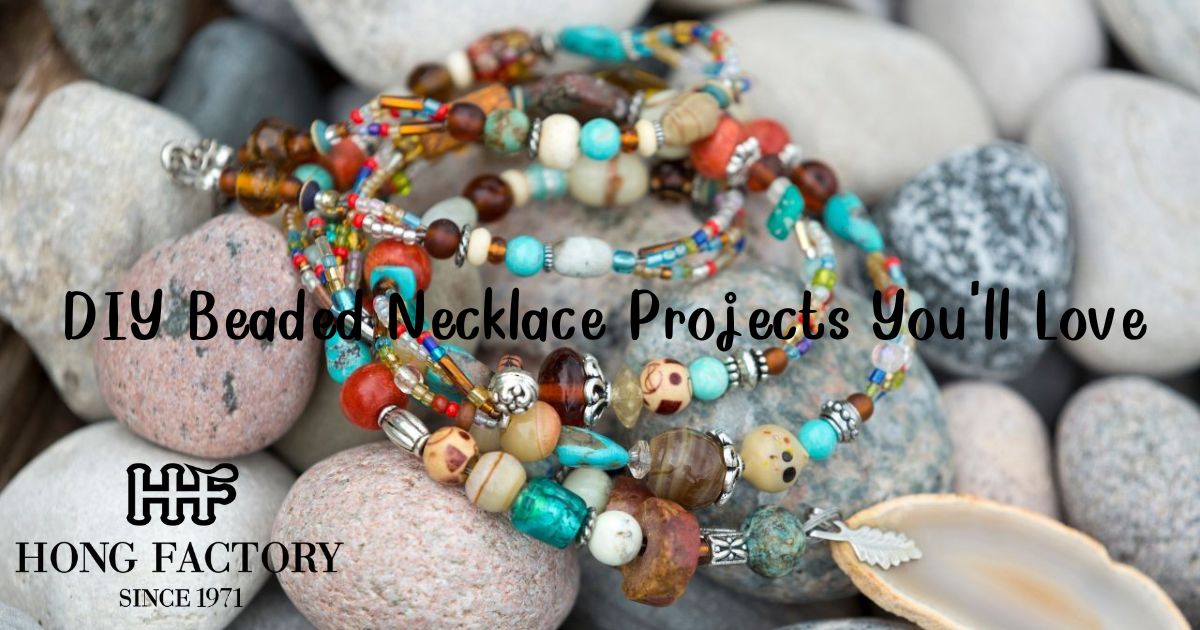
DIY Beaded Necklace Projects You’ll Love
Beaded necklaces are a fun and creative way to make personalized jewelry at home. Whether you’re a beginner or an experienced jewelry maker, DIY beaded necklaces allow you to express your style while exploring different materials and techniques. From simple designs to intricate patterns, these projects will help you create beautiful and unique necklaces that you’ll love to wear or give as gifts.
DIY Beaded Necklace Projects You’ll Love

Materials Needed
Before getting started, gather these essential materials:
- Beads (glass, wooden, pearl, gemstone, or seed beads)
- Stringing material (nylon thread, fishing line, beading wire, or elastic cord)
- Clasps and closures (lobster clasps, toggle clasps, or magnetic closures)
- Jump rings
- Crimp beads and crimping pliers
- Scissors or wire cutters
- Needles (for seed bead projects)
- Glue or clear nail polish (for securing knots)
- Beading board (to help with pattern design and organization)
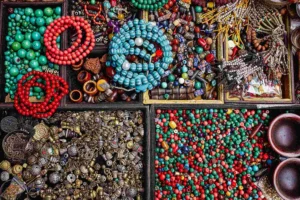
Choosing the Right Beads and Stringing Material
- Glass Beads: Add sparkle and come in various colors and shapes.
- Wooden Beads: Great for boho-style necklaces.
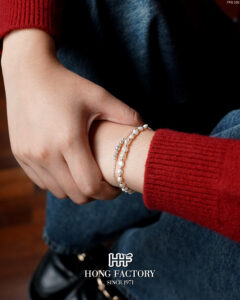
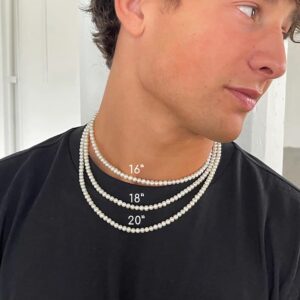
- Pearls: Classic and elegant for formal wear.
- Gemstone Beads: Natural stones that add a unique touch.
- Seed Beads: Small beads perfect for intricate patterns.
- Metal Beads: Provide an industrial or vintage feel to the necklace.
- Elastic Cord: Ideal for stretch necklaces without clasps.
- Beading Wire: Strong and durable for heavier beads.
- Silk Thread: Great for knotting pearl necklaces.
Step-by-Step Beaded Necklace Projects
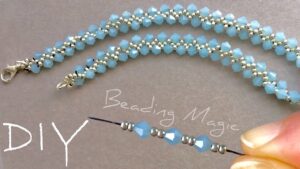
1. Simple Beaded Necklace
- Choose your favorite beads and arrange them in a pattern.
- Cut a piece of beading wire slightly longer than your desired necklace length.
- String the beads onto the wire.
- Attach a clasp using crimp beads and secure it with crimping pliers.
- Trim excess wire and wear your necklace!
2. Layered Beaded Necklace
- Design multiple strands of beads in varying lengths.
- Use jump rings to attach each strand to a clasp.
- Ensure each layer complements the others in color and length.

3. Stretch Beaded Necklace
- Use elastic cord to string lightweight beads.
- Knot the ends securely and add a drop of glue for extra hold.
- Trim any excess elastic and enjoy your easy, clasp-free necklace.

4. Pendant Necklace with Beaded Chain
- Select a pendant as the focal point.
- String beads along the chain, placing the pendant in the center.
- Secure with crimp beads and attach a clasp.
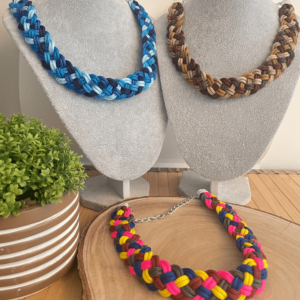
5. Braided Beaded Necklace
- Cut three strands of beading thread and string beads onto each strand.
- Braid the strands together for a textured, unique look.
- Attach a clasp and secure the ends with crimp beads.
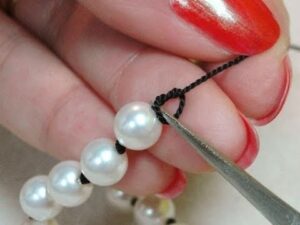
6. Knotting Between Beads Necklace
- Use silk thread or nylon cord.
- String one bead at a time and tie a knot before adding the next bead.
- Continue knotting to create an elegant look.

7. Beaded Choker Necklace
- Measure your neck to determine the choker length.
- String beads on a wire or stretch cord.
- Add a clasp or tie a knot, depending on the material used.

8. Statement Beaded Necklace
- Use large, bold beads to create a focal piece.
- Experiment with asymmetry by mixing bead sizes and colors.
- String onto a sturdy cord or chain for durability.
Tips for Making Beaded Necklaces
- Use a beading board to plan out your design before stringing.
- Mix bead sizes and textures for a dynamic look.
- Double-knot elastic cord necklaces to prevent breakage.
- Experiment with colors and patterns to create unique styles.
- Seal knots with clear nail polish or jewelry glue for added durability.
- Use different threading techniques like crimping, knotting, or looping.
- Try layering multiple necklaces for a stylish, trendy look.
- Invest in good-quality tools to make the process easier and more efficient.
Advanced Beaded Necklace Techniques
- Wire-wrapped bead links for a high-end look.
- Bead weaving patterns using seed beads and a needle.
- Macramé beaded necklaces for a bohemian aesthetic.
- Multi-strand bead necklaces for a layered effect.
- Resin bead-making for fully customized beads.
- Adjustable sliding knot necklaces for a flexible fit.

Caring for Your Handmade Beaded Necklaces
- Store necklaces in a jewelry box or soft pouch to prevent scratches.
- Avoid contact with water and chemicals to maintain bead integrity.
- Clean with a soft cloth to maintain shine and remove dust.
- Restring frequently worn necklaces if the thread shows signs of wear.
- Polish metal beads occasionally to keep them looking new.
- Keep pearl necklaces away from perfumes or hairsprays to avoid damage.
Selling Handmade Beaded Necklaces
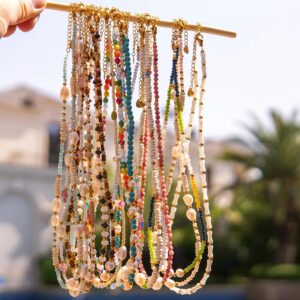
If you’re passionate about making beaded necklaces, you can turn it into a small business. Consider these steps:
- Create a unique style that sets your designs apart.
- Use high-quality photos to showcase your necklaces online.
- Sell on platforms like Etsy, Instagram, or local craft fairs.
- Offer customization to attract more customers.
- Package professionally to enhance the perceived value of your jewelry.
- Price competitively while ensuring a fair profit margin.
- Promote on social media to reach a wider audience.
Making your own beaded necklaces is a fulfilling and creative hobby. Whether you prefer simple designs or intricate styles, DIY beaded necklaces allow for endless customization. With practice, you can master different techniques and even start selling handmade jewelry. From selecting the perfect beads to using advanced stringing techniques, each necklace you create becomes a reflection of your personal style. Get started today and enjoy the art of beading!